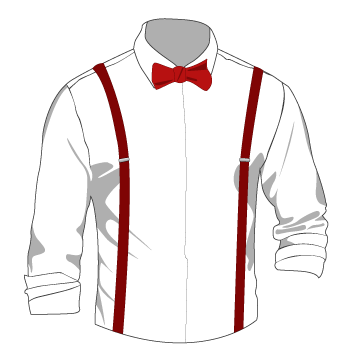
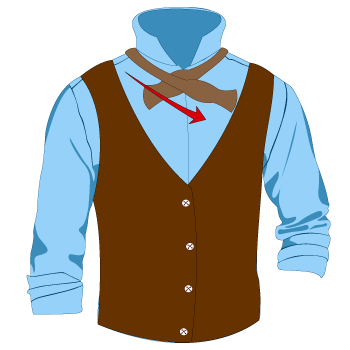
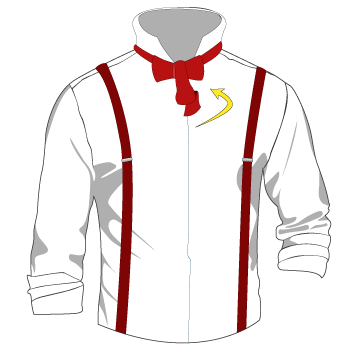
How to Tie a Bow Tie
Method 1: traditional (finish in back)
If your bow tie is reversible, the bow will be one pattern and the center loop will be the reverse pattern.
-
1. PREP: Adjust the bow tie to your neck measurement. (Most bow ties have inches marked on them and buttonholes for adjustment. If yours doesn't, you'll have to pick a sizing and slide-adjust by trial and error.) Button your shirt all the way up, and lift the collar. Stand in front of a mirror.
-
2. Drape the bow tie around your neck. The right tail should be about two inches longer than the left tail.
-
3. Cross the long tail over the short tail, fairly close to your neck (roughly between the top two buttons).
-
4. Tuck the long tail underneath and lay it up alongside your neck, out of the way. Tighten a bit, to fit your collar.

-
5. Fold the short tail into a right-facing loop, so the end is in front facing left. The fold should be at the widest part of the fabric, and the thinnest part of the fabric should be aligned with the buttons.

-
6. Drop the long tail over the center. This will create a loop or gap between the bow and the neck strip.

-
7. Fold the long tail in half and tuck this loop behind the front of the bow, from the right to the left, so that the back loop (made of the long tail) will face left and the end of the long tail will face right, as the back half of the bow. Although it will be sloppy at this point, the basic shape of the bow tie is now achieved.

-
8. Pull the loops, gently, to tighten the shape of the bow tie. When you've pulled the loops about as far as they can go without untying the bow, tug gently at the end of each tail to even them out.

-
9. Repeat Step 8 until the bow tie is the correct tightness.
-
10. Twist and straighten the bow tie until it looks more-or-less symmetrical.

-
11. Lower your collar.

Method 2: Slightly simpler (finish in front)
All but Steps 6 and 7 of this method are the same as the traditional method. Whether or not your bow tie is reversible, the bow and center loop will be the same pattern.
-
1. PREP: Adjust the bow tie to your neck measurement. (Most bow ties have inches marked on them and buttonholes for adjustment. If yours doesn't, you'll have to pick a sizing and slide-adjust by trial and error.) Button your shirt all the way up, and lift the collar. Stand in front of a mirror.

-
2. Drape the bow tie around your neck. The right tail should be about two inches longer than the left tail.
-
3. Cross the long tail over the short tail, fairly close to your neck (roughly between the top two buttons).

-
4. Tuck the long tail underneath and lay it up alongside your neck, out of the way. Tighten a bit, to fit your collar.

-
5. Fold the short tail into a right-facing loop, so the end is in front facing left. The fold should be at the widest part of the fabric, and the thinnest part of the fabric should be aligned with the buttons.

-
6. Drop the long tail over the center. Then wrap it all the way around, tucking it up next to your neck. You should now be holding the end of the long tail upward, in front of (or next to) your face.

-
7. Fold the long tail in half and tuck it, from the right, through the loop in FRONT of the bow, which you created in Step 6.
-
8. Pull the loops, gently, to tighten the shape of the bow tie. When you've pulled the loops about as far as they can go without untying the bow, tug gently at the end of each tail to even them out.

-
9. Repeat Step 8 until the bow tie is the correct tightness.
-
10. Twist and straighten the bow tie until it looks more-or-less symmetrical.

-
11. Lower your collar.